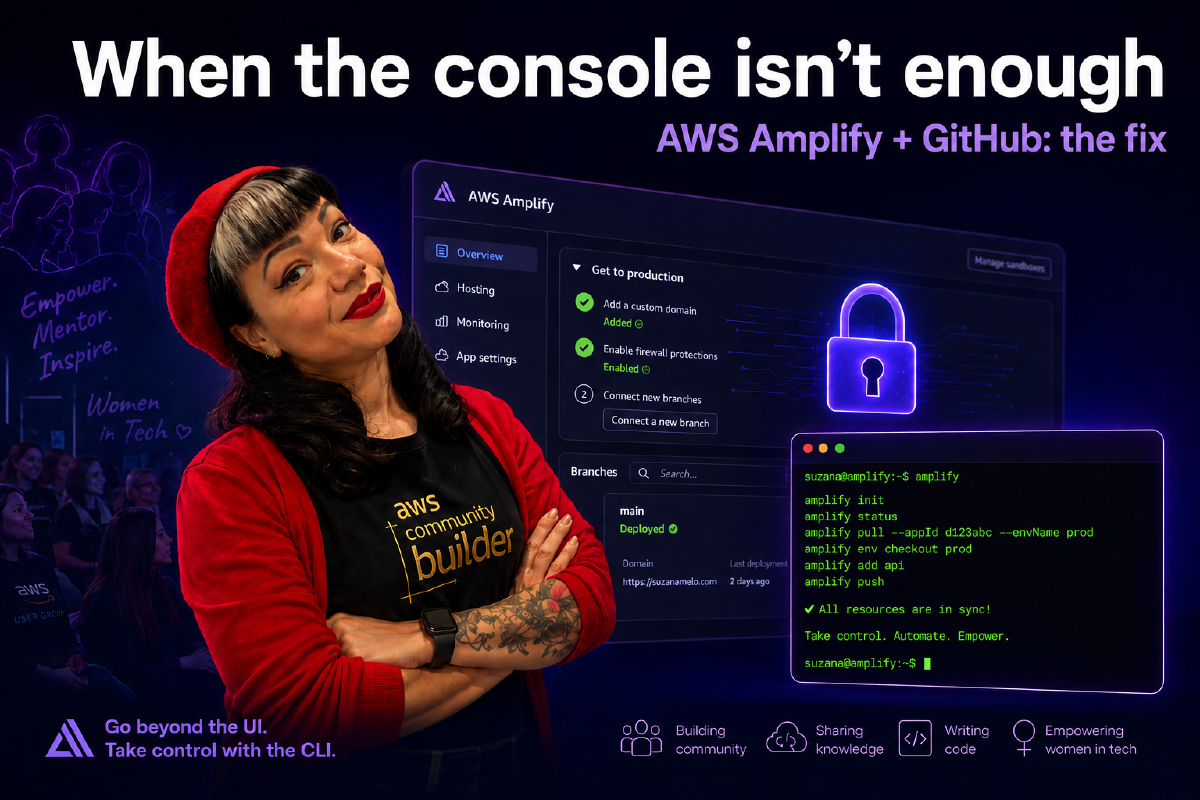

Since I launched my blog last year, I have been hosting and managing it from AWS Amplify, and I couldn’t be more satisfied.
Amplify gave me all that it promised and more. It was super quick to connect my application to my GitHub repository, effortless to deploy, and it handles all the heavy lifting: monitoring, DNS setup, SSL/TLS, and global content delivery through CloudFront. And the best part? The CI/CD: every GitHub push triggers Amplify’s CI/CD pipeline, which rebuilds and redeploys the site for me. Exactly what I wanted, ship fast, no complexities, learn later. The irony is that “later” came sooner than I expected.
In fact, I soon realised there are scenarios where Amplify doesn’t tell you when you’re starting, and I hit one of them when I decided to update my GitHub username. It didn’t take long to realise that my automated builds stopped working, and I didn’t know what to do or how to fix it.
What happened#
When I updated my GitHub username from suzanamelomoraes to suzanamelo-m, I didn’t think about the obvious: all repository URLs change with it.
AWS Amplify stores a hard link to the original repository URL, and, what I also didn’t know, it cannot automatically follow username or repository renames. For example, from my old repo URL:
https://github.com/suzanamelomoraes/suzanamelo
to my new repo URL:
https://github.com/suzanamelo-m/suzanamelo
What Amplify doesn’t tell you when you’re starting out#
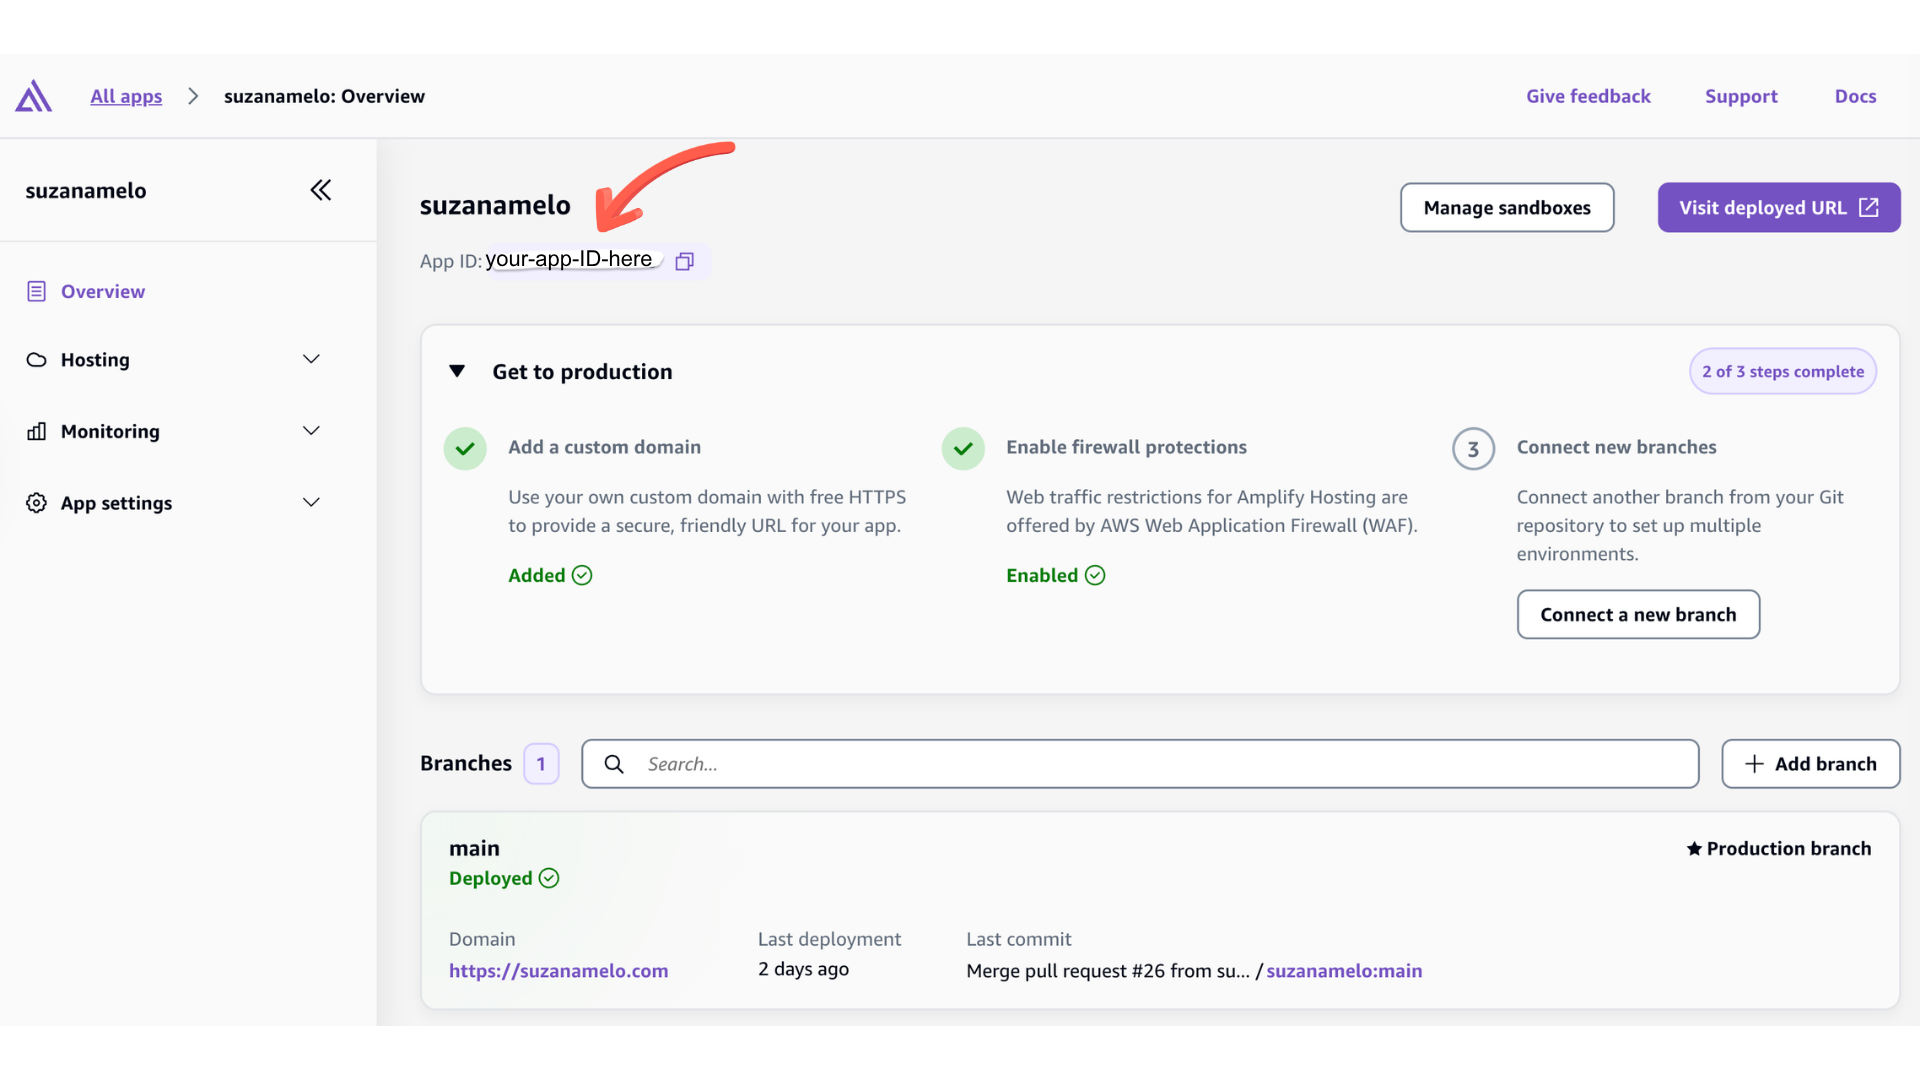
I jumped to AWS Amplify to try to learn how to fix the issue. I went to the AWS Amplify console to check item by item where a fix could be applied.
I consulted the Amplify documentation for troubleshooting suggestions. I didn’t find anything related.
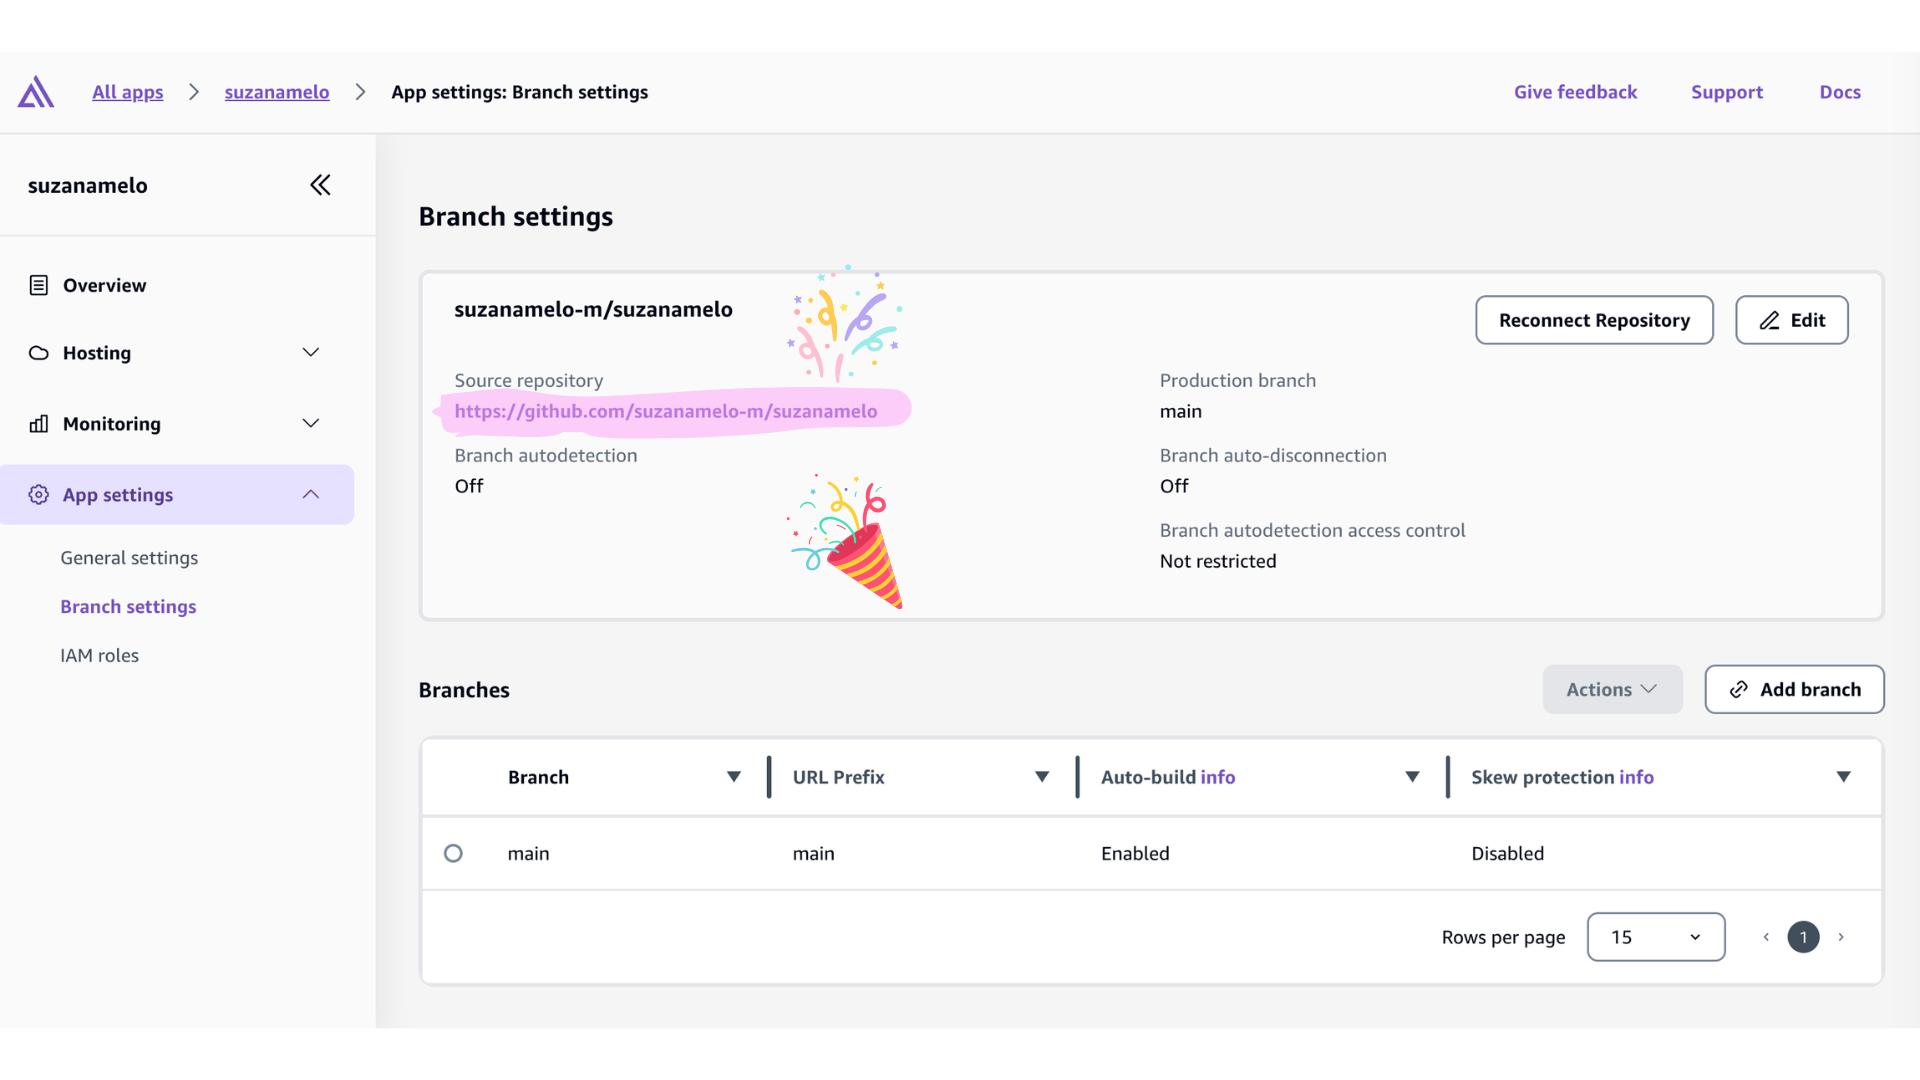
I tried to reconnect to the repository by going to the Branch settings dropdown in App settings and clicking the “Reconnect repository” button. When someone renames their GitHub username, GitHub creates a redirect from the old URL to the new one, but only for a while. I thought that Amplify would just follow it. It didn’t.

The finding#
Finally, I searched the internet, asked AI for help, and found that I wouldn’t be able to find the fix in the AWS Amplify console. Changing the repository URL directly in the Amplify Console is not supported; GitHub’s automatic redirect doesn’t fix Amplify’s broken webhook. The hard link must be updated via CLI.
When you need to use the update-app command#
I also found out that updating information via CLI was a fix not only for my problem. More scenarios share the same root cause and the same solution.
Scenario 1 — GitHub username change (my case): AWS Amplify cannot automatically follow username renames. When I renamed my username from suzanamelomoraes to suzanamelo-m, my automated builds stopped working.
Scenario 2 — Renaming a repository: Renaming a repository also changes the GitHub URL, and since Amplify is connected via that URL, auto-build stops working. The same CLI fix applies.
Scenario 3 — Moving from a personal to an organisation account: Multiple people have reported needing to move their repository from a personal GitHub profile to an organisation’s profile, but there’s no way to do it in the AWS Amplify UI console without creating a whole new app. This is a common scenario when a solo project grows into a team project.
Scenario 4 — Switching Git providers: People migrating from Bitbucket to GitHub also hit the same wall: the repository URL changes completely and Amplify breaks. The AWS CLI docs confirm the command works across providers, using oauthToken for Bitbucket and CodeCommit, and accessToken for GitHub (for this article, I’m covering only accessToken for GitHub as this is the one I use, but I’ll include helpful links in the list of resources at the bottom).
Scenario 5 — Switching between Bitbucket accounts: Even switching between different Bitbucket accounts connected to Amplify requires the same update-app CLI workaround.
How to fix it#
Since my repository is on GitHub, I’m describing the fix I made to it. I’ll leave links in the Resources to help you if you’re running into issues with other web-based Git repository hosting services.
1. Prerequisites#
Before running the fix, you need:
- The AWS CLI installed on your machine (you can check out how to do it here)
- Access to the AWS Console (to find your App ID and create access keys)
- A GitHub Personal Access Token with
reposcope (useoauthTokenfor Bitbucket and CodeCommit) - Your Amplify App ID
Note: If you set up your Amplify app some time ago, you may be using the older OAuth method rather than the GitHub App. Apps deployed via AWS Amplify using the older OAuth method continue to work for CI/CD, but AWS strongly recommends migrating to the GitHub App for new or updated connections.
2. Step-by-Step Fix#
Step 1 — Generate a GitHub Personal Access Token#
- Go to: https://github.com/settings/tokens
- Click Generate new token → Generate new token (classic)
- Give it a name, e.g.
Amplify Repo Update - Select the
reposcope - Click Generate token and copy it immediately (you won’t see it again)
Security tip: Delete this token after confirming the fix is working. It is only needed for the one-time
update-appcommand.
Step 2 — Find Your Amplify App ID#
- Open the AWS Amplify Console
- Select your app
- Look for the App ID — it can be found in the Console Overview and starts with
dfollowed by letters and numbers (e.g.d2x3uf5yeo5smt) - Also note the region from your console URL, e.g.
us-east-1,eu-north-1orap-southeast-2
Step 3 — Set Up AWS CLI Credentials (Named Profile)#
Before you can run any AWS CLI command, your machine needs to know who you are. That’s what credentials are for. They exist to authenticate your local machine or applications and authorise programmatic requests to Amazon Web Services.
Some of its core components (depending on your setup) are:
- Access Key ID: A unique, public identifier string (like a username).
- Secret Access Key: A hidden string (like a password).
If your terminal doesn’t know your AWS identity, any command you try to run to manage your AWS services will fail. Here we will set up your credentials and create a profile name for them, so you can easily identify your projects and/or environments (you can learn more about profiles at the end of this article in the “Going further: managing multiple AWS environments” section).
Using a named profile keeps credentials for different projects isolated.To create one:
3a. Check existing credentials
cat ~/.aws/credentials
cat ~/.aws/config
If the files don’t exist, no credentials are configured yet.
3b. Get your AWS Access and Secret Keys
- Go to the AWS IAM Console
- Click Users → select your user for the project you need to manage from the CLI
- Go to the Security credentials tab
- Scroll to Access keys → click Create access key
- Copy both the Access Key ID and Secret Access Key
3c. Configure a named profile
Choose a name that makes sense to you and your project. For this example, I’m going to call it blog and use us-east-1 as the region.
aws configure --profile blog
It will prompt for:
AWS Access Key ID: YOUR_ACCESS_KEY_ID
AWS Secret Access Key: YOUR_SECRET_ACCESS_KEY
Default region name: us-east-1   #your Amplify project region
Default output format: json
3d. Update region later if needed
Option A — Re-run the configure command to update any value:
aws configure --profile blog
Option B — Edit the config file directly:
nano ~/.aws/config
The file will look like:
[profile blog]
region = us-east-1
output = json
Save: Ctrl+O → Enter → Ctrl+X
Step 4 — Update the Repository in AWS Amplify#
Run the following command, replacing the placeholders with your actual values:
aws amplify update-app \
  --app-id YOUR_APP_ID \
  --repository https://github.com/NEW_USERNAME/REPO_NAME \
  --access-token YOUR_GITHUB_TOKEN \
  --region YOUR_REGION \
  --profile blog
A successful response will include JSON output with your app details. Here is what the structure looks like, with sensitive values redacted:
{
  "app": {
    "appId": "YOUR_APP_ID",
    "appArn": "arn:aws:amplify:YOUR_REGION:YOUR_ACCOUNT_ID:apps/YOUR_APP_ID",
    "name": "your-app-name",
    "repository": "https://github.com/suzanamelo-m/suzanamelo",
    "platform": "WEB",
    "createTime": "...",
    "updateTime": "...",
    "environmentVariables": {},
    "defaultDomain": "your-app-id.amplifyapp.com",
    "enableBranchAutoBuild": true,
    "enableBranchAutoDeletion": false,
    "enableBasicAuth": false,
    "productionBranch": {
      "lastDeployTime": "2026-06-15T10:00:00.000Z",
      "status": "SUCCEED",
      "branchName": "main"
    }
  }
}
Two things to confirm from this output: the "repository" field now shows your new URL, and "status": "SUCCEED" confirms your last deployment is intact.
If you open the Amplify Console after running the command, you should also see the new repository URL reflected under App settings → Branch Settings.
Step 5 — Verify & Trigger a New Build#
Option A — Via the Amplify Console:
- Go to the Amplify Console and open your app
- Click on your branch (e.g.
mainorprod) - Click the Run build button in the top right corner
Option B — Via the AWS CLI:
aws amplify start-job \
  --app-id YOUR_APP_ID \
  --branch-name main \
  --job-type RELEASE \
  --region YOUR_REGION \
  --profile blog
Step 6 — Delete the GitHub Token#
- Go to: https://github.com/settings/tokens
- Find the token you created
- Click Delete
The Amplify connection will continue working after the token is deleted. The token was only needed for the one-time
update-appcommand, not for ongoing builds.
Going further: managing multiple AWS environments#
AWS profiles are named collections of credentials and settings that let you manage multiple AWS accounts or environments from your local machine, without mixing credentials.
Instead of constantly overwriting your default settings, profiles let you manage different environments, permission levels, and accounts without re-authenticating every time.
You can use AWS profiles for a variety of management cases, for example, to separate your [development], [staging], and [production] accounts to reduce the risk of accidental changes, handle different clients and projects in different regions, or, in my case, to create a separate environment specifically for my blog-related credentials.
Useful Commands#
List all configured profiles:
cat ~/.aws/credentials
cat ~/.aws/config
Run any AWS command with a specific profile:
aws <command> --profile blog --region us-east-1
Set a profile as the default for a terminal session:
export AWS_PROFILE=blog
Verify which identity is active:
aws sts get-caller-identity --profile blog
Update a profile’s region:
aws configure --profile blog
# Just press Enter to keep existing values, and type the new region when prompted
Delete a profile — manually remove the relevant block from both files:
nano ~/.aws/credentials   # Remove [blog] block
nano ~/.aws/config        # Remove [profile blog] block
Wrapping up#
AWS Amplify hosting is an incredible tool, especially when you want to benefit from the AWS infrastructure (CloudFront, Route 53, IAM). In my case, I already had my custom domain and Route 53, which made the setup even smoother.
It’s also very handy when you want to avoid third-party services and rely on AWS native tools for authentication and databases.
AWS Amplify focuses on enhancing the user experience and making it even easier to manage your applications through its UI console. But not every issue can be sorted in the UI console. We just covered one issue that Amplify can’t protect you from, but now you know exactly how to handle it when it happens.
If you’ve hit a different Amplify wall and found your way out, I’d genuinely love to hear how you did it. 🤗
Resources#
- New to AWS Amplify hosting? Start here — From Procrastination to Publishing: How AWS Amplify Helped Me Finally Start Blogging
- AWS CLI installation guide: https://docs.aws.amazon.com/cli/latest/userguide/getting-started-install.html
- AWS CLI
update-appfull reference: https://docs.aws.amazon.com/cli/latest/reference/amplify/update-app.html - GitHub Personal Access Tokens (classic): https://github.com/settings/tokens
- AWS IAM — managing access keys: https://docs.aws.amazon.com/IAM/latest/UserGuide/id_credentials_access-keys.html
- AWS Amplify Troubleshooting: https://docs.amplify.aws/react/build-a-backend/troubleshooting/
- The
start-jobCLI reference: https://docs.aws.amazon.com/cli/latest/reference/amplify/start-job.html - Migrating from OAuth to the Amplify GitHub App (for users on older setups): https://docs.aws.amazon.com/amplify/latest/userguide/setting-up-GitHub-access.html
- Bitbucket — changing accounts: https://repost.aws/questions/QU3ibFSag6QdmlrQA55tr4-g/amplify-bitbucket-sign-to-different-account
- Migrating from Bitbucket to GitHub: https://www.isme.es/2023/09/10/migrate-blog-source-from-bitbucket-to-github.html